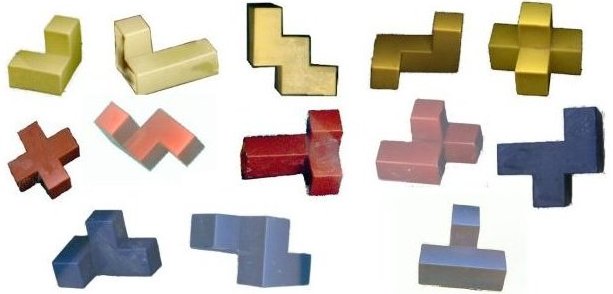

For this exceise the pieces are numbered in hex as

Below is display to enable you to construct the Bedlam Cube
Assume the squares represent levels 1 2 3 4 from left to right

Now pick up piece 9, rotate it so it can occupy 4 spaces on level 1. Working with piece C rotate it to cover two cells of Level 1 and cover the two of 2 cells of piece 9
There are now two empty cells in level 1. These can be filled with pieces 1 and D, but you should look at the square representing level 2 for the correct orintation.
Now that you have finished level 1 and most of level 2
you can continue to 3 and 4. You are going to have to think a little bit,
but the grid above you can continue to complete the cube.
Below are 12 more
construction patterns shown without the fancy grid lines. Hope you will
find them enjoyable.

If you have another construction. please ship it to me
John R. Clark {click here}
I used Dyalog APL to set up these constructions on a slightly better computer than the IBM 650 which is described on one of my Webpage. You may enjoy reading about it. My Webpages
HINT: I found that with checking these constructions, instead of using the purchased cube, I went to Hobby Lobby and picked some 3/4" wooden cubes. With the aid of a Elmers school glue stick, I created the pieces. On each exposed face of a piece I would write the number. This made life a lot easier in constructing the cube.
If I were back in the days of my misspent youth, I would memorize a couple of these constructions and visit the local bars looking for suckers who would bet against my skill of putting the cube together.